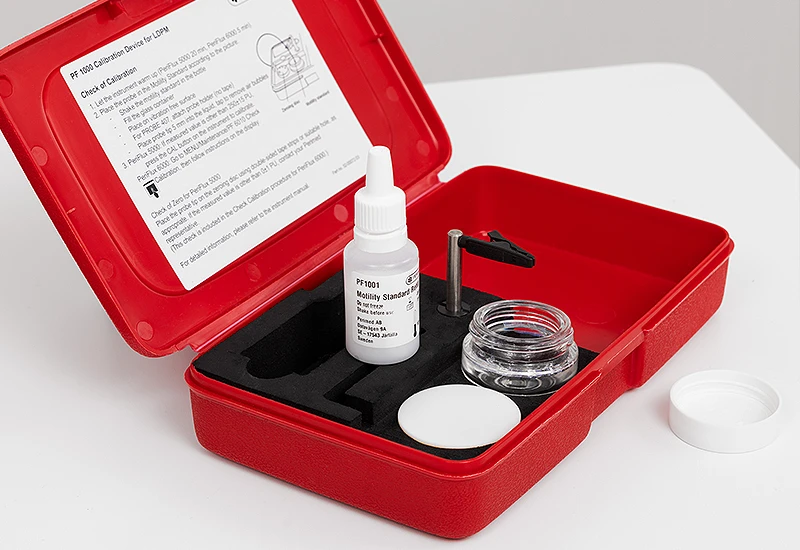
Calibration kit for Perimed laser Doppler probes
Verifying that your instrument measures within specification ensures it can deliver robust measurements for clinical and research applications. Environmental conditions, handling, and natural material degradation can lead to slight drifts in measurement accuracy. Verification ensures these drifts remain within acceptable margins.

How does it work?
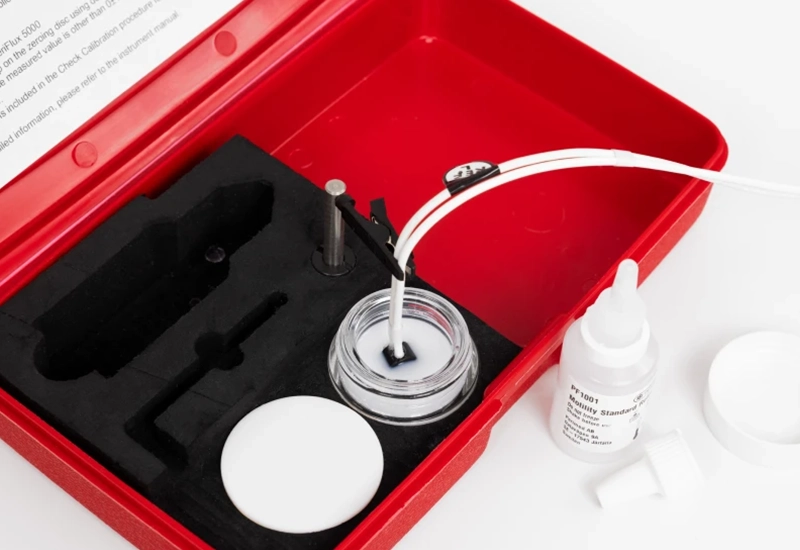
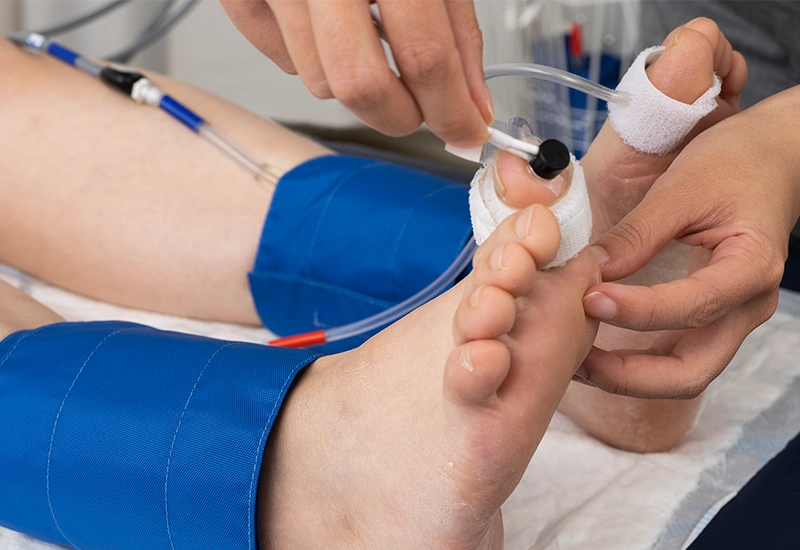
Our calibration kit includes a Motility Standard — a suspension of polystyrene particles with a known diffusion coefficient. By dipping the laser Doppler probe into the suspension, your PeriFlux 6000 device will measure the diffusion coefficient of the polystyrene particles as they scatter light. Verification is successful when the measurement is within the acceptable margin.
Regular maintenance
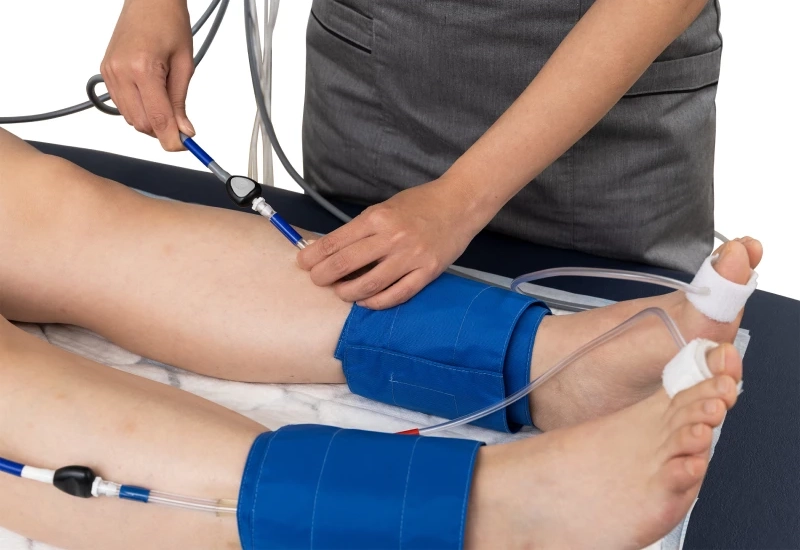
Regular maintenance is essential to ensure your measurements remain robust and comparable over time. We recommend verifying your laser Doppler probes at least once every six weeks. Always verify new probes before using them for measurement.
All our machines come equipped with a calibration kit.
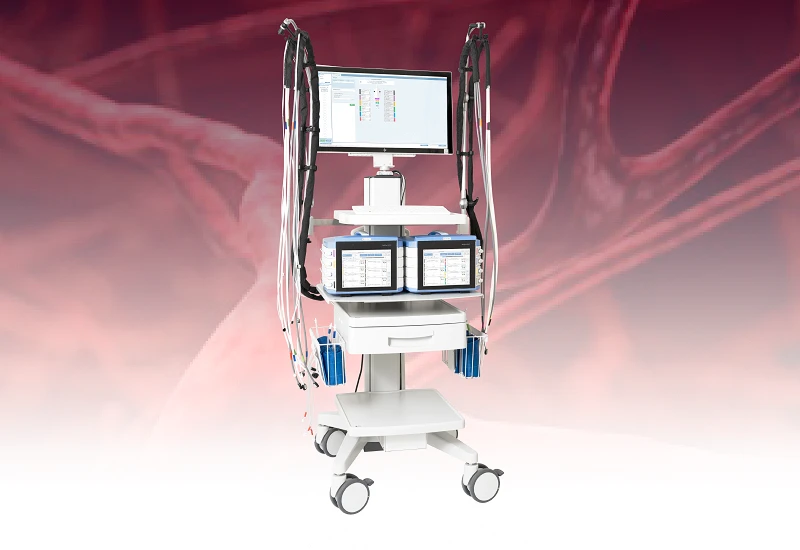
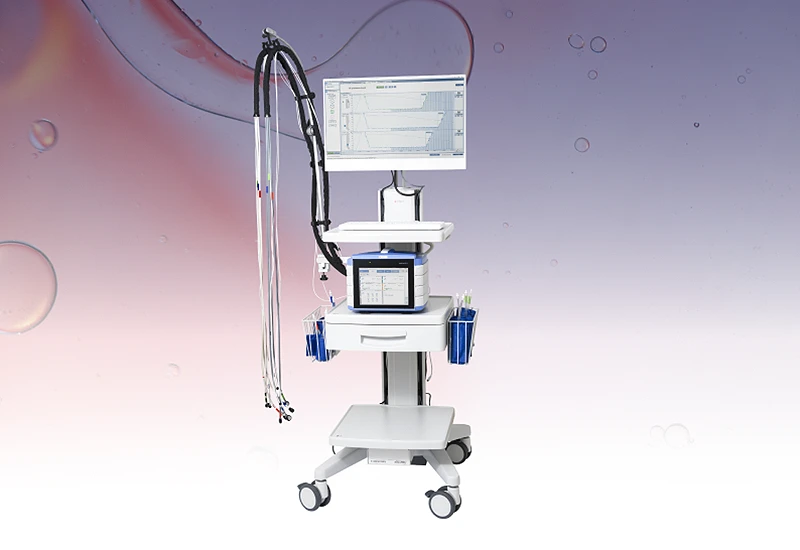
Related products and applications
Contact Sales
Get in touch
If you are having issues with your probes or how to calibrate them, fill out the form, and a local representative will be in touch with you shortly.